
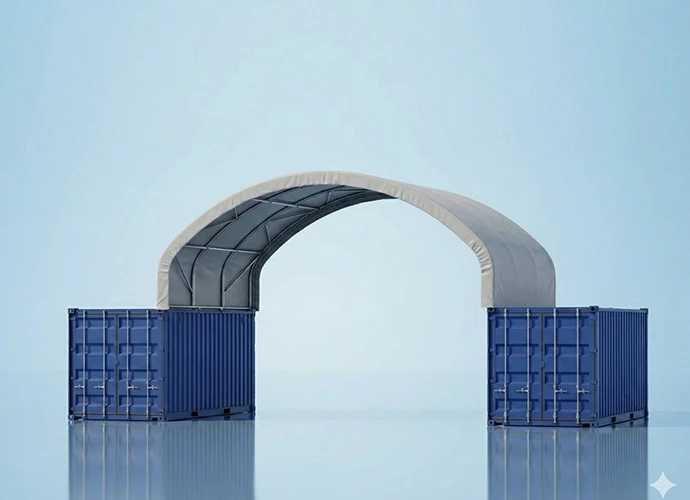
In most cases (over 90%), a container shelter is treated as a temporary, relocatable structure, meaning no council approval is required for installation.
Council rules can differ slightly, so if you’d like absolute peace of mind, you can simply give your local council a quick call or check their website.
For commercial/industrial sites or high-wind regions, a few extra documents may be requested, such as:
● Structural certificate (AS/NZS 1170.2)
● Proof of temporary installation
● Site-specific engineering (rare)
All Toughcover shelters are engineered to meet AS/NZS 1170.2 wind standards, and we’re happy to assist with any documents if needed.
We offer professional installation services if you prefer a quick, hassle-free setup — click here for a quote!
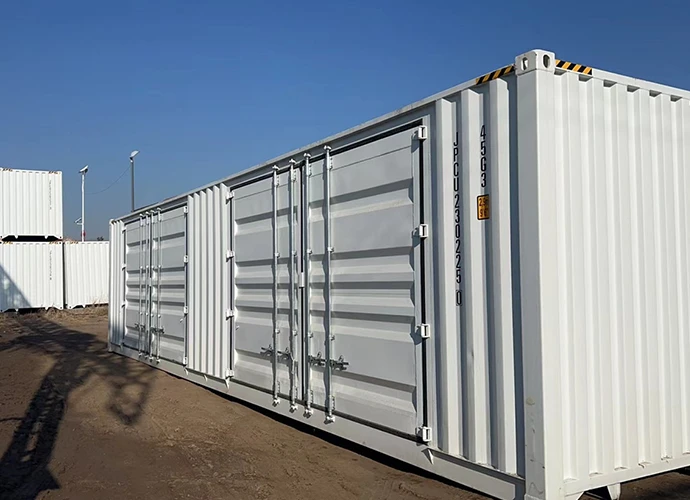
Before installing your Toughcover Container Dome Shelter, make sure the site is clear and level, with enough space to work safely around the structure. Gravel or a concrete pad works best.
All components — base plates, bolts, arches, purlins, and cover — arrive neatly packed in a shipping crate.
Basic tools such as spanners are required, and using an Elevated Work Platform or scissor lift will make lifting and securing the arches much easier and safer.
If you're unsure about tools or equipment, don't worry — our team can guide you step-by-step and recommend suitable hire options. We're always here to help with any installation questions.
Position the two shipping containers parallel and level according to your shelter layout plan. Use string lines or a laser level to make sure everything is square.
Most customers use a Hiab truck, telehandler, or heavy-duty forklift to position containers quickly and safely.
In high-wind regions, it's recommended to anchor the containers securely. Options include bolting to concrete pads, installing anchor plates, or using internal ballast blocks for extra stability.
Need containers?We also supply and deliver ISO-certified side-opening shipping containers across Australia. Ask our team for a quote or delivery option.

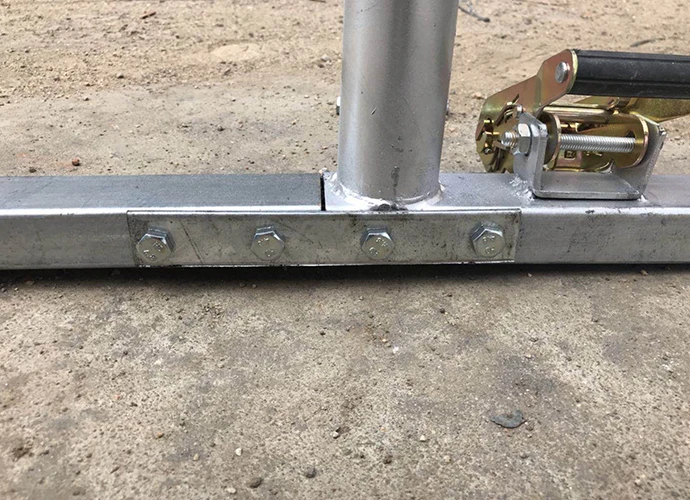
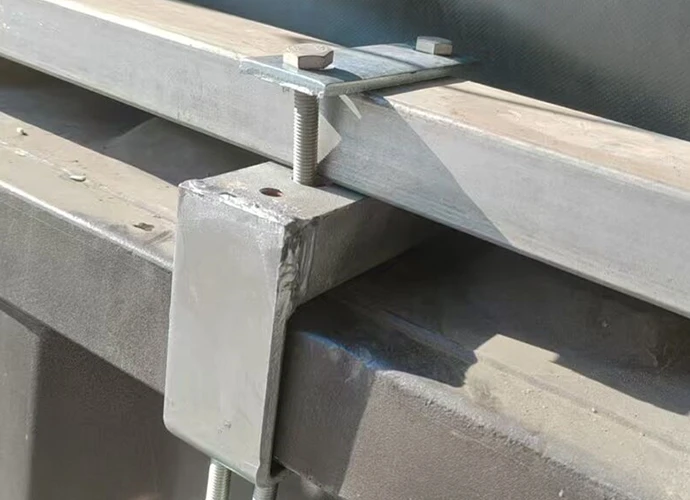
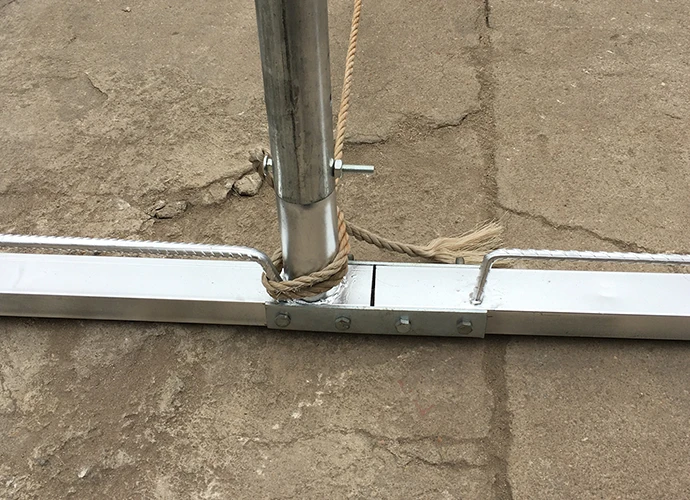
Connect the base rails on the ground first, then secure them to the containers using our Clamp-On Bracket System.
This no-welding design makes installation faster, safer, and damage-free — while keeping your containers fully intact and allowing easy relocation in the future.
Compared with traditional welded base plates, the Clamp-On System comes at a small extra cost, but it saves significant time and labour during installation.
☆ Pro Tip for Site Managers:
By choosing our no-weld design, you aren't just saving $500+ in welder costs; you are protecting the resale value of your containers by keeping them 100% intact and free from structural alterations.
Unpack all arches and lay them out on level ground.
Follow the supplied assembly guide to bolt each section together, making sure every connection is tight and correctly aligned.
Important: Do not fix the arches onto the base rails until all arches are fully assembled and checked on the ground.
Use a scissor lift (or similar equipment) to lift each fully-assembled arch into position and bolt it securely onto the base rails.
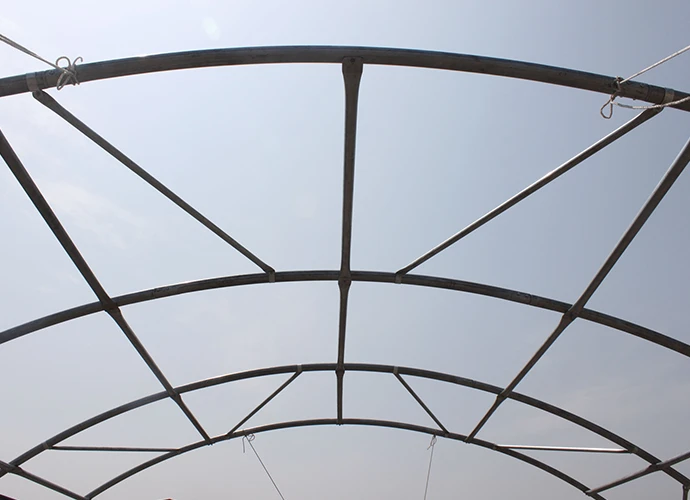
Start by fixing the first two arches, then install the purlins between them using the pre-drilled holes and supplied bolts.
Continue adding arches one by one, connecting each bay with purlins as you go. Once all purlins are in place, fit the cross bracings in the designated bays for added stability.
When the roof frame is complete, visually check that everything is aligned correctly and ensure all bolts are tightened properly.
Pick a calm day with minimal wind for this step.
Unroll the PVC cover and lay it out neatly along one side of the containers, keeping it clean and facing the right direction.
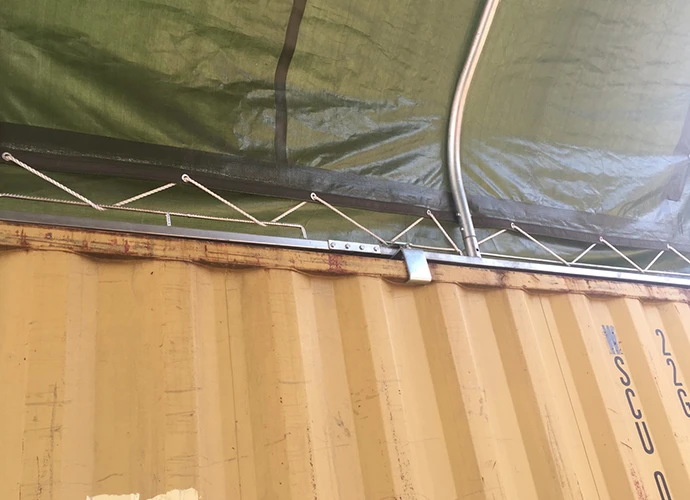
Slide the tensioning tube into the pocket along the bottom edge of the cover.
Tie the ropes onto the tube, then throw the ropes over the roof frame to the opposite side. With a few helpers, pull the cover up and over the arches from the far side, making sure it stays centred and sits evenly across the frame.
Once the cover is in place and sitting evenly, slide the second tensioning bar into the opposite pocket.
Feed the ratchet straps around the bar and into the ratchets on the base rails.
Start tensioning the cover symmetrically on both sides, working your way along the shelter.
Tighten the straps gradually to remove slack and pull out any wrinkles, ensuring the cover sits smooth and firm across the frame.
Finish by securing the front and rear edges as shown in the guide, making sure all straps and tension points are tight and even.
If required, install the end panels, front wall with door, or half panels according to your shelter model.
Once everything is in place, complete a final check of the entire structure:
● Ensure all bolts, joints and tensioning points are tight
● Confirm the cover is evenly tensioned
● Make any small adjustments for a proper fit
Finish with a full visual inspection to make sure the shelter is secure, aligned, and ready for use.
All our shelters come with a detailed, step-by-step installation manual.
If you run into any questions during the setup, just reach out — we're always here to help.
Prefer a hassle-free install?
We also offer professional installation services. Contact us for availability and a quote.